Showing posts with label vegan. Show all posts

Tuesday, January 29, 2013

Sabudana Khichdi - A Maharastrian staple sensation :)


This is one dish I have had several times at my sister's home in Pune and loved. I have been told that tapioca is a high calorie grain and if not done in a proper manner, this khichdi could be an oil guzzler - I have had a couple of sticky gooey efforts in the past simply because I refused to use the oil, but I'll be darned if I did not do it my way and yet make a hit of it - recently had it at someone's place who happened to be from Maharastra and I asked her and she led me to none other than Divya of Chef in You fame - I checked it out and the realized the two Key things to do to make this are
1) you must use the big sabudana for this dish and 2) you must soak in water just covering the top of the tapioca overnight or for a minimum of  5-8 hours

Garnish, spices, herbs etc are changeable and up to personal preferences. But peanuts are a must :)
It turned out spectacularly and I am happy that this ghost will rest, conquered - booyah!

Serving size -4-5
Ingredients

  • 1.5 cups Sabudana (tapioca) soaked overnight in water barely covering the pearls
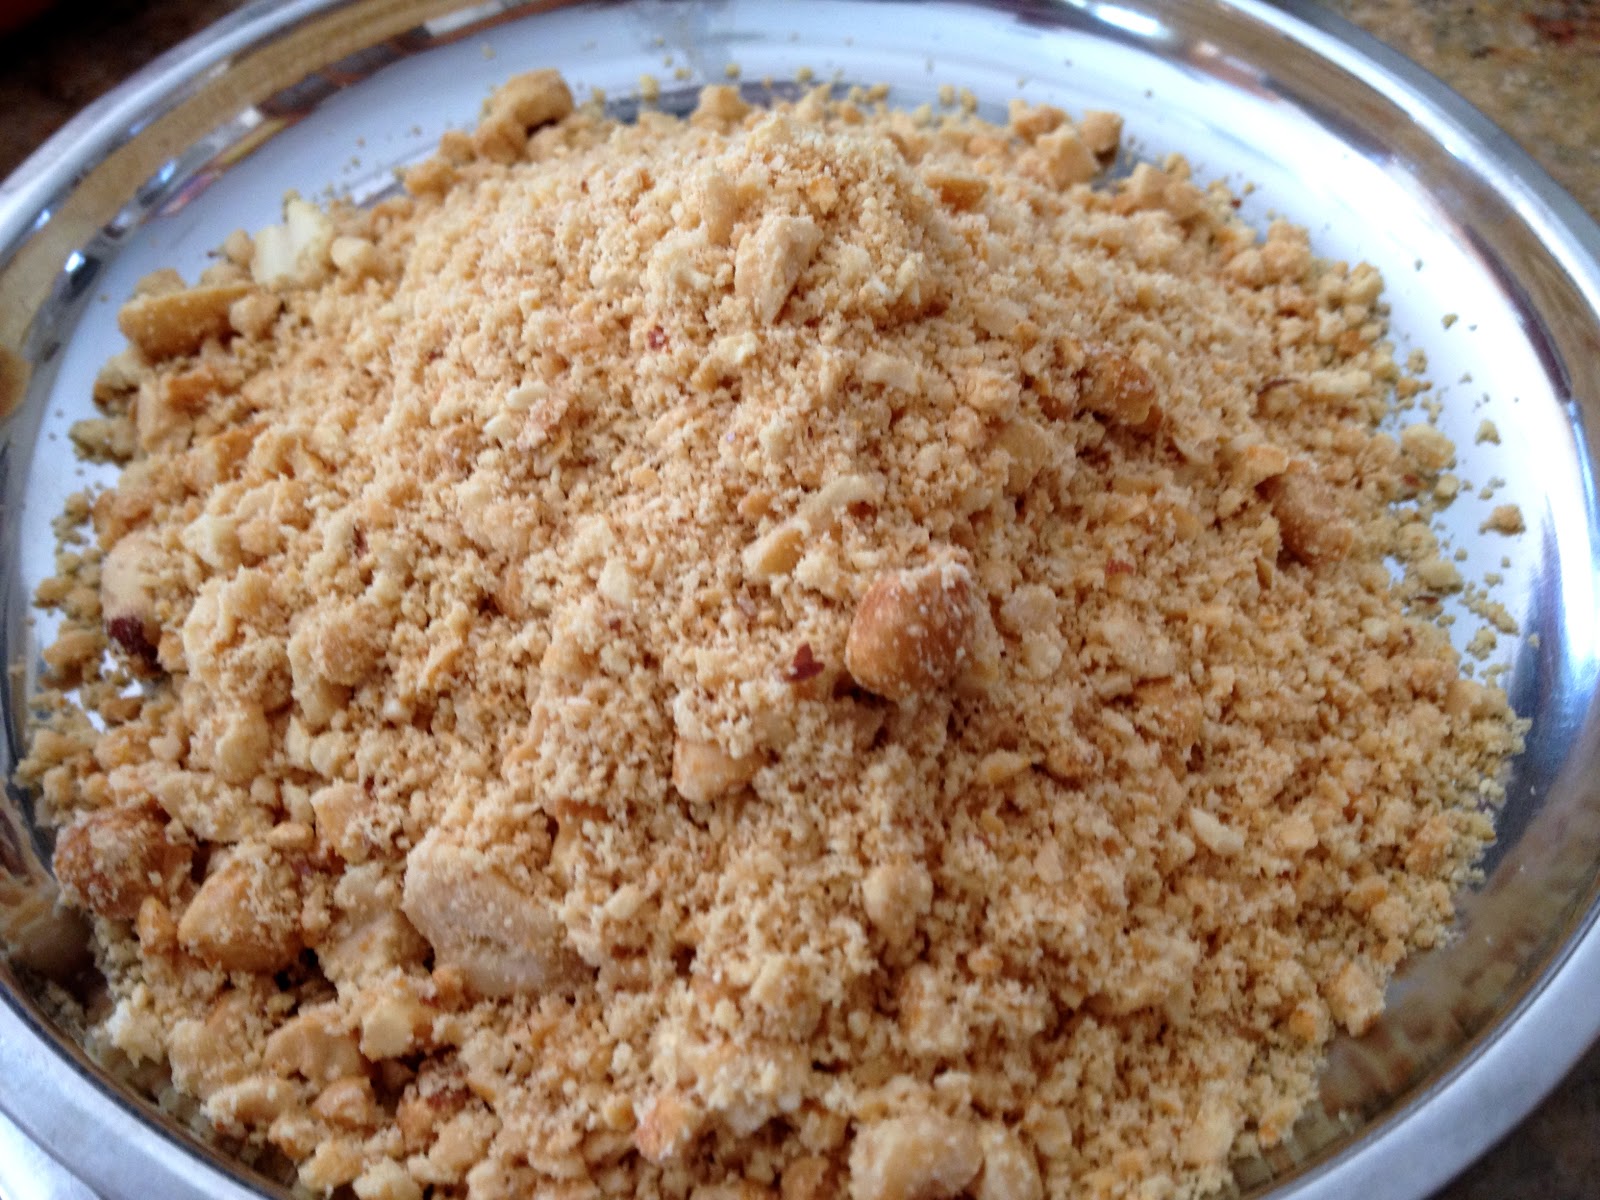
  • 1/2 cup crushed peanuts
  • 1 med. onion
  • 1/2 cup grated coconut
  • 3 spicy green chilies
  • 1 tsp grated ginger
  • curry leaves
  • 1tsp of olive/sunflower/corn oil

For tempering

  • 1/2 tsp cumin
  • 1/2 tsp urad dal
  • a pinch of asafetida

For garnish

  • Finely chopped cilantro

Method

  1. Loosen the soaked tapioca pearls to separate
  2. In a pan, sautee the urad cumin and asafetida followed up with the onions, ginger and green chilies
  3. When they are getting caramelized, add the sabudana and stir in -you will notice them getting translucent from being solid white
  4. Add salt at this point and mix well 
  5. Follow up with the crushed peanuts
  6. In a small pan, lightly dry roast the grated coconut to get rid of the rawness
  7. Add finally to the Khichdi and mix well
  8. Remove from flame 
  9. Garnish with cilantro
  10. Serve HOT


NOTE Common additions to this khichdi are finely cubed and roasted potatoes. You can be as creative as you want with your veggie additions. I plan to be the next time around

Enjoy folks until the next time, signing off with love.


Tuesday, January 22, 2013

Onion & Peanut Chutney


A simple quick and fabulous chutney to accompany dosa, (lentil crepes) Idlis (savory cakes) or even mix in with rice. Having the kids home demands that you be quick and creative - it is always a pleasure to have them home, but the problem usually is coming up with an idea for  a meal more than making it - I am sure all you experienced chefs out there would agree - Rava Idlis and Chutney seemed like a perfect light and simple lunch to make- So we did and it was enjoyable - And what was best is although it is frigid outside, the sun shines even brighter making for good pics - Lately I have made food that I wish to blog in the evening and Jan evenings are usually gloomy and dark even by 5, making for not so great pics of really good food - Will strive to be more efficient with the daylight hours for blogging.


Here is the recipe
Ingredients
1 big red onion
1 handful of roasted peanuts (husk free)
3-4 of your spicy dried red chilies
1tsp of sesame oil

For tempering
a pinch of asafetida
1/4 tsp mustard seeds
fresh curry leaves
1tsp of sesame oil

Method
In a wok/kadai/frying pan heat the oil and add the ingredients and cook until onion is translucent
Cool and grind
Temper with the suggested ingredients

Serve with Idlis, dosas, rice or chapatis - See here with hot and delicious Rava Idlis


Enjoy

Tuesday, January 15, 2013

Khobz - A Delicious Moroccan Bread

Khobz 


Happy Kanu Pongal to all - feeling quite under the weather - I had contracted Lyme Disease a few years ago and the recurring effects of it are joint pains - My knees are begging for mercy from a sharp shooting pain that has ruled my life for almost 24 hours now! I am quite sick of taking Advil and have resorted to arnica - hoping to get an acupuncture appointment for it Sigh! feeling better after off loading some of my woes!

I had made this bread several weeks ago but it is good I held back posting it for this week with the Avant Garde Cookies, we are making breads - And this is a wonderful addition to any dinner table. Not much different from any other bread in so far as the recipe goes, what sets this apart is the incredible crustiness of the outside shell and the incredible softness of its inside.

How it came about
We had gone to a local Moroccan restaurant, one that has apparently been around for over 3 years and this was the first time we'd paid attention. The food was not great, but good. However, what had me raving was the Khobz - it was out of sight yummy. I did talk to the chef and owner about it and he did not really reveal the recipe, but said it needed a lot of kneading.

More internet searches reveal recipes that were not any different from any other kind of bread. So I took the chef's word for it and kneaded it for an extra long time in my mixer. The other trick was to use lesser water and keep the dough somewhat tough. I did use 1 tbsp of olive oil. While mine was really tasty and well-received, I know I "knead" a lot more to get the same great bread from the restaurant - practice maketh perfect -
One last hint from the chef - rewarming the bread also gives it the crispiness on the shell and the softness inside... so go ahead and give it a try -If nothing else, if you are in Morocco sometime, you'll at least know to order khobz :)  Presenting Khobz

Khobz as explained by about.com

Moroccan and Standard Arabic: الخبز
Khobz is the Moroccan and standard Arabic word for bread. TheTamazight (Berber) word kesra and Tashelhit (Shilha) word agroummight also be used, as might the French word pain.
Although khboz and kesra may mean different things to different Moroccans, both terms are used in a general sense to refer to oven-baked bread which is shaped into round, flattish loaves with lots of crust. During a traditional Moroccan meal, khobz often replaces utensils such as forks or spoons as it is used to scoop up meat, vegetables, sauce, salads, dips and more.
Different types of flour can be used to make khboz. Exactly what goes into each loaf, and how large or small it is shaped, is a matter of personal preference. White, semolina, wheat, rye, bran and barley are some of the flours that might be used, while anise and cumin seeds are just two additions that could be added for extra flavor.
In rural areas, many families use small dome-shaped wood burning ovens to bake their bread. In urban areas, families might opt to bake their bread do so in public street ovens. Both methods give bread a unique flavor and character that simply can't be matched in a conventional oven or by Moroccan bakeries. Nonetheless, very good Moroccan bread can be baked in home ovens, and it's worth trying to make your own bread to complement a Moroccan meal.
Recipe is replicated from About.Com - thank you!


I added some thyme and moroccan spices for flavor


Allow 1 hour rising time. Yields two 8" to 9" round loaves.

Prep Time: 20 minutes

Cook Time: 25 minutes

Rising time: 1 hour

Total Time: 1 hour, 45 minutes

Ingredients:

  • 4 cups white flour
  • 2 teaspoons salt
  • 2 teaspoons sugar
  • 1 tablespoon yeast
  • 2 tablespoons vegetable oil
  • 1 1/4 cup warm water
  • additional flour for kneading
  • cornmeal, semolina or oil for the pan

Preparation:

Prepare two baking sheets by oiling the centers, or by dusting the pans with a little cornmeal or semolina.
Mix the flour, sugar, and salt in a bowl. Make a large well in the center of the flour mixture, and add the yeast.
Add the oil and the water to the well, mixing to dissolve the yeast first, and then stirring the entire contents of the bowl to incorporate the water into the flour.
Turn the dough out onto a floured surface, and begin kneading the dough. If necessary, add flour or water in very small amounts to make the dough soft and pliable, but not sticky. Continue kneading for 10 minutes, or until the dough is very smooth and elastic.
Divide the dough in half, and shape each portion into a smooth circular mound. Place onto the prepared pans, and cover with a towel. Allow to rest for 10 minutes.
After the dough has rested, use the palm of your hand to flatten the dough into circles about 1/4" thick. Cover with a towel, and leave to rise about one hour, or until the dough springs back when pressed lightly with a finger.
Preheat an oven to 435°F (225°C).
Score the top of the bread with a very sharp knife, or poke the dough with a fork in several places. Bake the bread for about 20 minutes – rotate the pans about halfway through the baking time – or until the loaves are nicely colored and sound hollow when tapped. Transfer the bread to a rack or towel-lined basket to cool.


Saturday, October 27, 2012

Garden Fresh Salsa

When you have a garden that gives you the freshest ingredients to make the finest salsa, I say, heck why not make the most of it! :) The garden truly is on its way out with the chill of Autumn setting in. Nevertheless that chilies are putting out their last produce for the season as are the tomatoes. The cilantro is still going strong although not for much longer, perhaps and the bell peppers are finally making an appearance. So whatchya waiting for? That's right! Get that salsa made already, will you?!
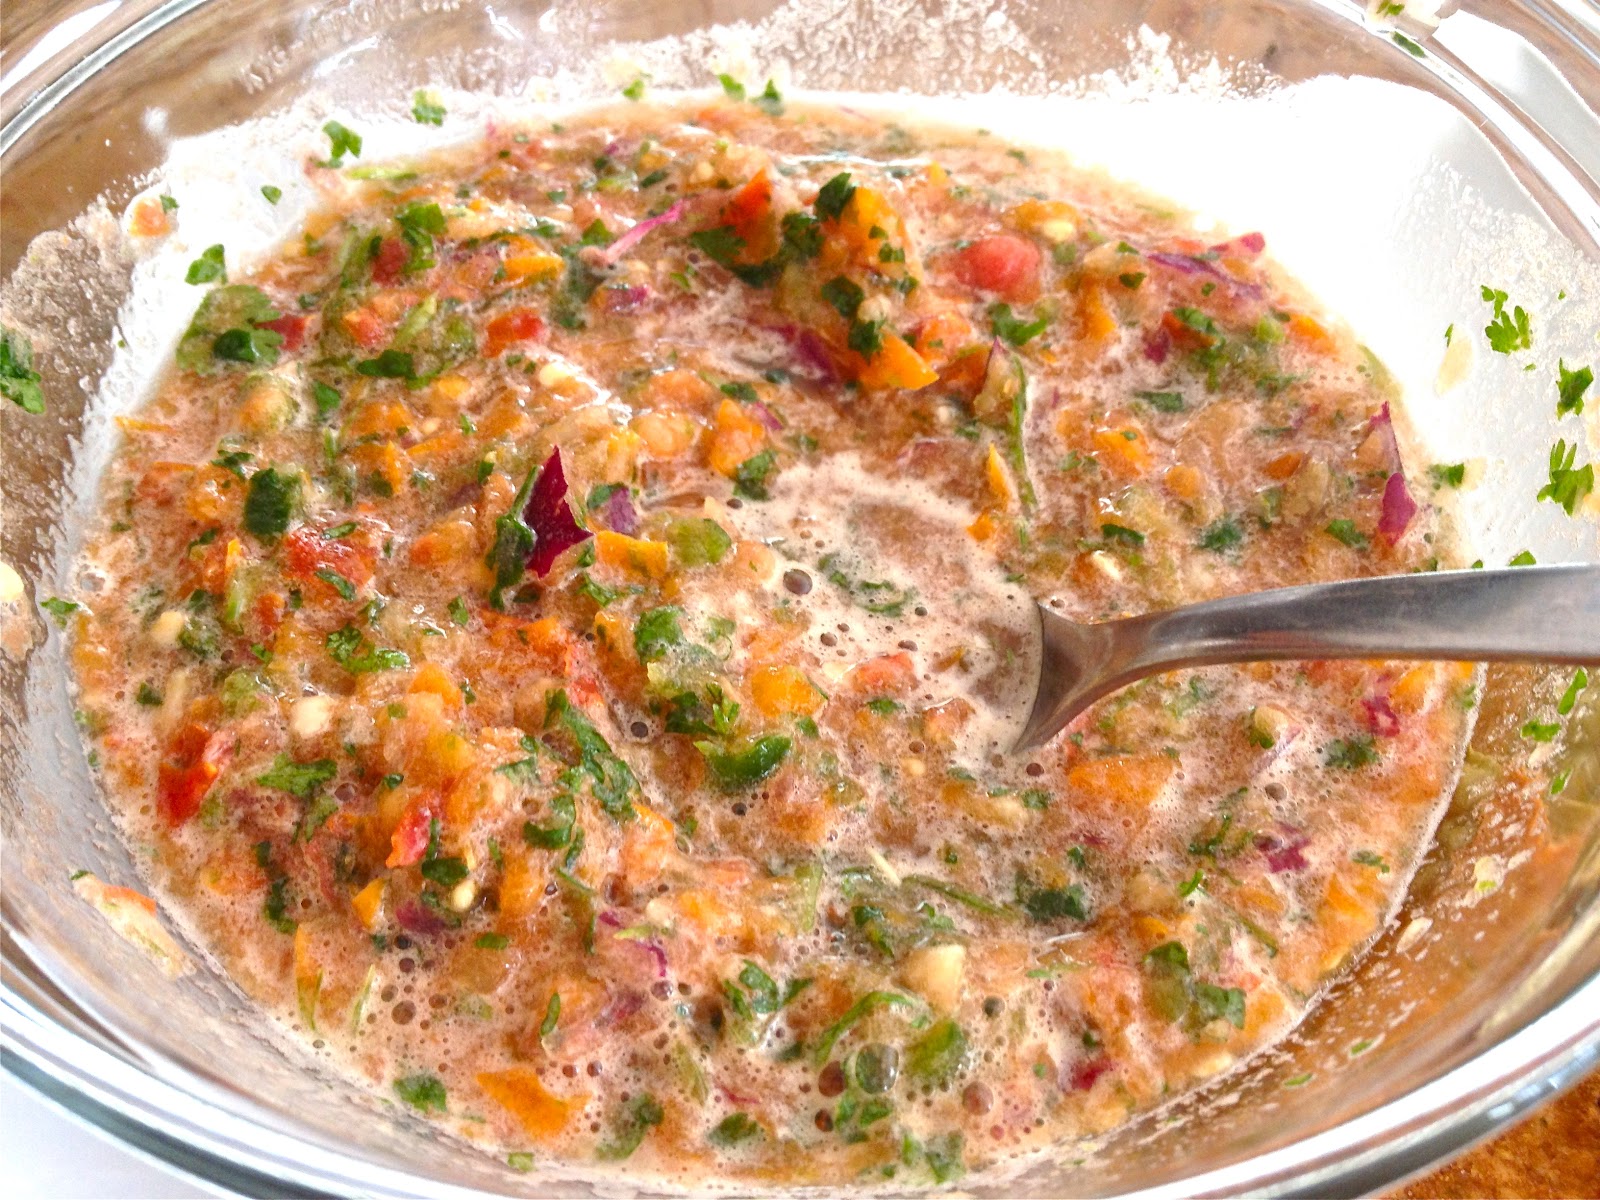
Chop up some onions and garlic and squeeze some fresh lime juice into the above ingredients and a smidgeon of salt and voila - And what is the secret ingredient? Habanero peppers of course :)
A quarter goes a looooooooong way so be judicious in your use of this dynamite pepper


Ingredients

  • 2- 3 medium sized tomaotes
  • 1 small onion
  • 1/2 cup of fresh cilantro
  • 1/2 habanero
  • 1/2 bell pepper
  • 2cloves of fresh garlic
  • 1-2 tsp of lime/lemon juice
  • salt


Method

  1. Chop all ingredients finely if you do not have a mixer that can make the salsa for you
  2. Otherwise, chop roughly and put in your vitamix or magic bullet and let it go until it is blended but retains some texture
  3. Refrigerate immediately if you are not using right away


NOTE: this tastes best fresh or made half an hour before use - keep refrigerated for best taste.

Enjoy amigos!


Monday, October 22, 2012

Cashew-Peanut Vegetable Stir Fry


A nutty idea but trust me when I tell you you could eat it all up and hanker for more - This is another of those one the spot recipes - a new take on stir-fry which was hugely successful with the family - The only time it takes is to cut the veggies... and when it comes to cutting multiple veggies, I love to do it since I always get so turned on by the brilliant colors of them all and I feel like an artist creating amy own color palette.

Here are the veggies I used - 

  • 1 each of orange and yellow and green peppers
  • 1 perfectly juicy and ripe tomato (big)
  • 1 big red/purple onion
  • 2 small (long) eggplants


Nuts, herbs and spices

  • A fist full of 
  • cashews, peanuts, sesame
  • 2tbsp Spicy Schezwan sauce
Plus 2 tsp of sesame oil to saute the veggies in

Method
In a wok/wide pan, heat oil and throw in the veggies
Cook until tender but still crunchy
Powder the nuts together
Add the sesame whole and the nut powder along with the sauce and stir until all the veggies are coated with these
Cook for a minute or two longer
Serve hot with noodles, chappatis or eat as is.


Thursday, October 18, 2012

Broccoli & Coconut Usili Curry


This is the simplest and tastiest and healthiest broccoli preparation if one is looking to Indianize this green and great veggie. It is light and delicious and can be paired with chappatis or rice or couscous or can even be had as is. Takes 10 minutes flat to make and is highly satisfying.

Ingredients

  • 2 medium broccoli bunches
  • 1/2 grated coconut
  • 2red chilies
  • 1/2 tsp urad dal
  • 1 tsp salt
  • 1 tsp oil


Method

  1. Grate the broccoli with the bigger scraping side
  2. Steam broccoli until tender (not soggy) this keeps the lush green color intact
  3. In a pan, heat oil, add urad and brown
  4. Add chilies and broccoli and turn in the pan
  5. Add the salt and the grated coconut and let all the flavors blend
  6. Serve as desired


Wednesday, October 3, 2012

Green Chili Thokku (Preserve)


My garden was bursting with green chilies and we kept collecting in the hope that we would get some spicy ones - Alas to our disappointment, although they were extremely aromatic and flavorful and raised our expectations no end about its spiciness. Ironically, they lacked the sting which is a quality all of us proper South Indians look for in our green chilies.  We have learnt now that we have to plant the different varieties of chilies at least a 10 feet away from each other because what can happen if you plant spicy ones and sweeter peppers side by side, one takes over the flavor of the other, in our case the sweet dominated the spicy :(  So a lesson learnt for next year. Joke is I had to use store-bought green chilies and a few red chilies to spice up my chili chutney (lol)  But it smells phenomenally good and and tastes incredible, esp with thachu mammu or yogurt rice; a fab spread on sandwiches and with chappatis and cheese...

Presenting to you my Green Chili Thokku/Preserve - also sharing a couple of fun art I made with them.


Ingredients

  • 3lbs of Fresh green chilies 
  • 4 thai green chilies (not required if you have spicy chilies already)
  • 1/2 cup of urad dal
  • 1tsp of tamarind paste
  • 1/4 tsp of asafetida
  • 1tsp turmeric
  • 5tbsp Gingely/sesame oil
  • salt
  • Tempering with mustard seeds

Method

  1. de stem the chilies and keep ready
  2. In 2 tbsp of oil roast the urad dal until golden brown
  3. In a wide pan add 2 tbsp of oil and add the green chilies and allow them to cook until lightly browned
  4. Add the salt, tamarind and asafetida to this and stir for a little longer
  5. Cool and grind 
  6. Add a tbsp of raw sesame oil to the top to keep it preserved. Enjoy in any which way you want to :)

Chili Thokku

Thursday, September 27, 2012

Colorful Veggie Stir Fry – Indian Chinese Style


Some days the sun shines brilliantly and makes for the best day to click some good pictures – especially of food – A day like that presented itself and I was beside myself with joy since I had invited some friends over for lunch and I was planning on making this veggie stir fry. Colorful veggies can be a big turn on for the gastric juices and a visual treat. And I hope to achieve this with this recipe. For those who see my FB page, you will have seen this as my "cover photo" and on the slide above on my homepage :)

This is an all too simple recipe, the only hard or interesting part (depending on how you view it) is the veggie cutting – I made this a fun chore and you can see the result of it in the pictures below.  A few ingredients to spice it up and I was good to go.

Here now is my recipe

Ingredients
Veggies of your choice
Hot stir fry sauce
1tsp Sambar powder
1 tsp or squirt of Sirarcha sauce
1tbsp Ginger
1tbsp Garlic
1tsp sesame seeds
1tsp of Asian spices
Nuts (optional)
1tbsp +2tsp of sesame oil
Fresh green Thyme to garnish (can use basil or other too)

Method
Heat 1tbsp oil
Add the garlic and ginger and sesame seeds
Roast till garlic is golden
Add the chopped veggies
Add all the spice powders – The sambar powder infuses a fine Indian aroma to this dish while the Asian Spices confirms that it is indeed a Chinese dish with an Indian twist JThe addition of Potatoes also lends some Indianness to the dish.
NOTE: If you are using potatoes, like I did, you may want to cook it for a few minutes in the microwave or steam them ahead of time for a 3-4 minutes
Cook on high flame stirring/tossing them
Once they are tender, but still crisp, add the sauce
IMPORTANT – The veggies should be Al dente and retain their shapes and their own individual flavors – that’s what makes this dish special
Serve HOT Over noodles or as a side with Jasmine Rice J

Serving with Whole Masoor dal "soup" & Pappads


This is my week 3 Cuisine of the month at AGC posting- Do check out my co-AGCians recipes - AnushaJayanthi,KaviPriya, RadhikaRoshni and Veena


Wednesday, September 12, 2012

Figs & Coconut Halwa


Ganesha's grace abounds. My site is back up and running with a new look, thanks to Elizabeth Hillstrom, a bright young student who has made this happen for me. It is a simple and easy to navigate layout and I love the look of it :) - I am also operating from priyasnowserving.net, should you prefer a WP format - And if you like the work of this young girl, and the recipes you see showcased, don't hesitate to like us on Facebook :)
Ganesha is remembered every single day in my house, in the most delightful way for me – In that I get to be him every day, sometimes once often twice a day – My soon to be 4 yr old loves the Ganesha stories she has heard and watched from Karadi Tales. She is always Parvati and I get to be Ganesha, who guards zealously her gates as she takes the most leisurely bath in the world, using up all the water of the ganges J - And Hubby dear gets to be Shiva who confronts Ganesha before lopping off his head – the whole scene is enacted each day with no variations allowed, unless the variation has the little one bursting into giggles. My Shiva does a stellar job of showing rage – his whole face vibrating, jaws jiggling (lol) Lots of fun, but I think we are ready to move on to a new act. But not before we celebrate the joyous day when we offer our salutations to our potbellied, elephant faced, single tusked lord of wisdom who removes obstacles – In fact it is the remorse of Shiva for having lopped Ganesha’s head off that makes him bestow upon his son the boon that he would be revered first before Shiva himself. Ganesha loves food, especially sweet dumplings aka Kozhakattais/modhakams or so the story goes. Gourmets like us love to make this an excuse to prepare modakams rice flour shells stuffed often with jaggery and coconut, or jaggery and lentils.
For this occasion, I chose to add a slight twist to the tradition, while still upholding it, by adding freshly picked figs.  This enhanced if anything the already delicious dish by giving it a fantastic flavor. It turned out like a most delectable halwa that could be devoured just like that – Which is why I called it a Halwa. Halwa is best defined as a sweet sticky dessert often made with flour and nuts and fruits. This dish has the nut and the fruit.

I am happy to that a post of offering to Ganesha is my first one for the Avant Garde Cookies group that I am now a part of.


Here is my offering to Ganesha recipe and all.

Ingredients

For the Stuffing

  • 16 Ripe or almost ripe Figs
  • 1 cup of grated Coconut
  • 1 cup of jaggery
  • 1 tsp of powdered cardamom
  • 2 tsp of water

For the dumpling shell
  • 2 cups of rice flour
  • 1 cup of water
  • A pinch of salt
  • 1tsp of sesame oil
Jaggery
Cardamom


Fresh Grated Coconut

Fresh Picked Figs
Method

Stuffing
  1. Powder your jaggery – they usually come in blocks and can be found at the Indian store
  2. In a saucepan, add 2 tsp of water and the jaggery
  3. Let it become syrupy
  4. Add the powdered cardamom
  5. Follow it with the coconut and let it cook in the jaggery until the water from the jaggery is completely gone and the mix is thick and stuffable
  6. Remove from flame and allow it to cool

Shell
  1. In the meantime, sift the rice flour
  2. Roast it for literally a minute in a wide pan
  3. Now add the water and salt and what I do is spin it once in the blender so that it is a pasty fluid
  4. Pour this liquid into a saucepan and stir away until the rice flour cooks
  5. Stirring helps avoid knots in the dough
  6. When the white fluid thickens and comes off the sides, add the oil
  7. The color will not be white anymore and the dough will have assumed a cooked look.
  8. Switch off and cover with a cloth so that it does not dry out.


Both these processes take no more than 10 -15 minutes flat – I kid you not.


  1. Now Let’s get them together
  2. So make lemon sized or even smaller balls with the dough. Put your thumbs in the middle of the ball and start pressing the sides, creating a dippy hole in the middle.
  3. Make sure this is deep and the sides are thin without falling apart.
  4. Now take a teaspoon of the stuffing and place in the hole.
  5. Gently fold the sides pulling up with your fingers to make a small tuft, so to speak.
  6. The other method is the make a smile –
  7. Make a round flat circle with the dough.
  8. Add the stuffing and fold joining at the corners, pressing them together. Both kinds are shown below.
  9. Steam them and you have your Kozhakattais 

Offer to the Good Lord Ganesha before you pop one into your mouth J Happy Chaturthi Folks and May Lord Ganesha obliterate any obstacles in your life.


My first Avant Garde Cookies Post 

Linking this to Cook Like a Chef