Showing posts with label Entree. Show all posts

Sunday, July 15, 2012

Home Garden Veggie Tian


This is an adaptation of the French dish Tian, which mainly consists of vegetables, cut in circles and baked. By adaptation, I mean my version has sambar podi to liven things up for the Indian palate. What is special about this dish? It was made with homegrown, organic zucchinis, squash and tomatoes, the only outsider being potatoes. It is a very easy recipe to put together. The only suggestion I have after making it once, is to half boil your potatoes if you're adding them, since they take much longer to cook than the other vegetables. It's a colorful and extremely visually appealing dish and I hope you will attempt it in your kitchens. You can be sure to elicit the "wow"s from whomever you're serving it to.

Ingredients
Serves 10-12

2 large red tomatoes
2 large pink potatoes (peeled)
2 large zucchinis
3-4 medium/large squashes (very large squashes get too seedy)
2 Tbs sambar powder
1 cup of grated cheese (I used mozzarella and cheddar)
Garnish with herb of your choice (I used thyme and rosemary for this one)
Finely chopped spring onion chives
Oil spray
Salt to taste


Preparation

Peel potatoes.
Cut every vegetable (and fruit) in 1/4 inch thick circles.
Cook the potatoes in the microwave for about 5-6 minutes.
Prepare your baking pan by spraying it with olive oil.
Set the oven at 400 degrees Fahrenheit.
Separate the circles by vegetable and keep them apart.
Mix sambar podi with salt and sprinkle it over each of the veggie discs.
Arrange them in the pan in the order of your preference, alternating colors.
Bake this for 25-30 minutes.
Reduce the heat of the oven to 350 degrees.
Now pull the dish out.
Add the herbs and chives first and top it with the cheese.
Cook at 350 for 20 minutes, or until the cheese is golden brown.


Enjoy by itself, or with freshly baked French bread.
Until next time,
Au Revoir!

Monday, July 9, 2012

Cherry Rasam (South Indian Soup)


I made this rasam over 2 months ago when i blogged my Cherry Pie and Cherry Kachal. Believe it or not, I have over 20 recipes I need to blog and I keep falling back more and more - with the kids at home and a dozen other distractions, it seems hard to get on with blogging - esp since I have been also undergoing acupuncture  for what I have dubbed "computeritis" It hits you right where the nexk meet the back and shoulder and it feels often like a hundred pins are being jabbed on a particular spot, relentlessly - I risk that pain each time I get online, but writing and blogging have become necessities and in many ways define what I do other than being a caring mom - My Chinese Medical doc has advised me to cut back on the computer hours and stop to do some neck rolls, and other stretches - no more than 2 hours a day is her recommendation for computer use. It is past midnight, one of those insomniac and restless nights when I got up so as to not disturb anybody else to do my thing - this I hope will also help me sleep.

If you have not had a cherry rasam yet, you must certainly put it on the list of things to make, try sooner than later - It is incredibly tasty - seriously - the sweet& tart flavors of the cherry combined with the aromatic flavors of our rasam powder, freshly ground coriander and black peppers, slightly roasted coconut sends this rasam to a whole new level as rasams go. 


The recipe

Ingredients
1 cup of cherries
2 tsp of Rasam powder
5 cups of water
1tso each of coriander seeds, grated coconut,  cumin, black pepper 
2 red chilies (optional) 
salt to taste
butter/mustard seeds/ cumin seeds/ cilantro/curry leaves to temper

Preparation
Bring the cherries to boil in the water -
In the meantime, roast the dry condiments, grind with a tad bit of water 
Add the rasam powder along with the condiments and spin it too
Now add this to the boiling cherries
Add salt
At this point I just filtered most of the cherries, ground them up and added them back to the rasam -leaving a few to bite into like we do tomatoes
Taste to see if it has the tartness you desire or if it is too sweet --Either ways a tsp of lemon after it has been removed from the stove is an option - i had no need to do that.
Pour rasam into serving dish
Temper the mustards cumin and the curry leaves and add to the rasam - 
add finely chopped cilantro for garnish

Serve HOT as a soup or with rice and pappad and a delicious veggie on the side :)


Monday, May 14, 2012

Cashew-Pistachio Coated Sweet Potato-Paneer Sandwiches


Ahhhh! I know the name is a mouthful!! sorry about that :(
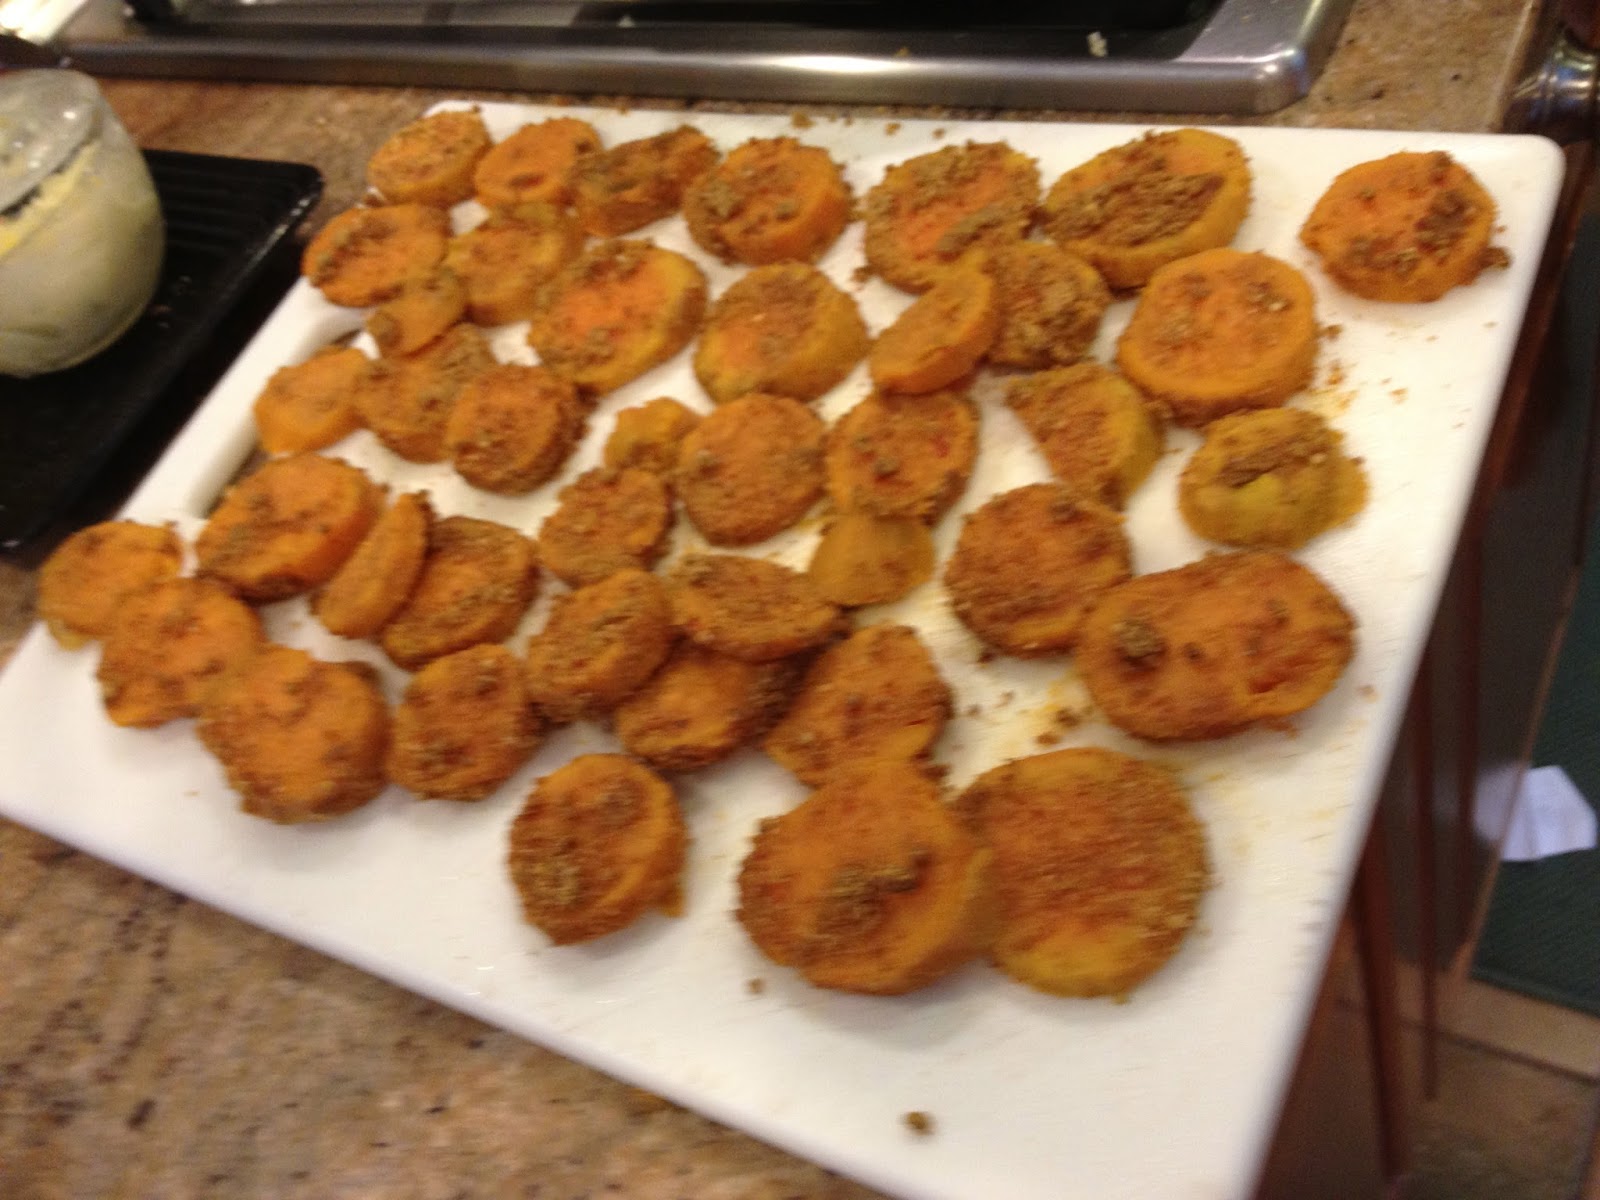
This recipe came about by sheer chance - We've made a habit now of having steamed sweet potato dinners - they are the best kind of carbs to eat and are touted to be the healthiest veggie. We LOVE it, luckily and I have been trying to get my little one to like it too - but she is too smart for just steamed, so my sweet hubby, who I have mentioned on several occasions is a fabulous cook too. He decided to cut the sweet potatoes into 1/2 inch rounds and roast them with the smallest amount of olive oil - He added a dash of curry powder and some salt and it tasted outtsight - I had made some paneer for her and after she'd eaten most of it, she said enough - I popped the sweet potato and the paneer in my mouth - Oh boy was the combo deadly! I decided I had to make that for the rest of us - and that's exactly what I did - In my zeal, I made more than I should've - so the next day, I improvised some more - added some spinach, lima beans all leftovers from the previous day- added a dash of sambar powder and that made for another excellent self-contained meal - I will blog it next - So please try it and let me know how you like this combo -

Prep time 30 making time 30
This includes steaming the sweet potatoes and coating them in the cashew pistachio,masala.


4-6 steamed sweet potatoes
a fistful of cashews and pistachios
2tbsp curry ma powder
salt and pepper
3 roasted red chilies


Preparation
Grind all these into a coarse-fine powder
Cut the sweet potatoes into 1/2 inch circles
Put them in the powder mic and press and roll the sides and flip over and press down again to fully coat them
In a shallow pan, spray some olive oil spray and roast until both sides are a happy golden crisp - Some of mine got a bit darker, but they were remarkably tasty even so.
In the same pan, roast the paneer - you have cut these into 1/2 inch cubes as well - once they are a nice brown, remove from pan - I added some salt and curry powder -

Serve hot.


Thursday, March 22, 2012

Behtareen Biryani

Biryani

One of the fanciest and most exotic rice preparations with rice is the oh-so flavorful and aromatic Biryani. Behtareen means "Perfect" in Urdu and Hindi. I have never really attempted a Biryani in the past, but inspiration got the better of me last month and I did attempt it and it turned out fabulous - Felt a huge sense of achievement that I managed to make something which we order rather longingly in a restaurant right here in my kitchen!! I was also happy in the knowledge that i used the healthiest and best ingredients to make it.
I was going to make a dhum biryani  - the kind you get at Cream Centre for those of you familiar with that restaurant chain in India. I did not make the atta- chappati covering to cook it, but instead used my rice cooker. But I layered it the same way and the more it stayed the better it tasted. The house was filled with the warm spell of spices and the naturally aromatic basmati.

Here is my version of this exotic rice preparation

The pictures are pretty self-explanatory and the masala for biryani has been approached in different ways depending on what tastes you prefer to be more predominant. 
NOTE: The ONE ingredient I did not photograph since I added it last is coconut - 1/4 cup of grated coconut for the masala.
For the Masala
Biryani ingreds

The veggies, Paneer, (Raisins & Almonds) for sauteing
Peas, Beans,Carrots, Onions, Cauliflower, & Paneer. Saute and cook with olive oil/butter and salt - I added a 2 tsp of curry powder to cook the veggies -
Saute Paneer with 1 tsp of curry powder
Next, saute rice with butter and add the masala paste to it along with salt. Cook in rice cooker
Secret Ingredient 4-5 strands crushed lightly - Saffron - Zafrani (cook with the rice)

biryani process

Once the rice is cooked, layer veggies and rice finishing preferably with rice layer on top. Once you serve it can be mixed up on the plate or in the copper vessel that I have presented it in. Enjoy HOT with raita & pappad.
biryani layering
Ta-Dah!
biryano

Thursday, January 20, 2011

Shrooms and Garlic rice - Chinese style

I made 2 different kinds of this rice, first one I Indianized by mixing in some garlic podi from Grand sweets and snacks. This tasted good, but I think the second was an even bigger winner and deserves a place on this blog - Another healthy recipe with very little oil...so here goes

Ingredients
About 10-12 good sized shrooms (white ones)
Green spring onions - three stems
Garlic cloves- 4-5 crushed
4-6 green chillies (this can be adjusted according to tolerance levels
the juice of 1 medium sized tomato - strained
1 cup of basmati or jasmine rice
1 tsp of olive oil

Preparation
Cook the rice separately and keep warm
Dice and grind the tomato and strain the juice from the pulp
Finely mince the mushrooms, green chillies and spring onions
In  big pan, heat the tsp of oil, crush the garlic directly into it and add the veggies
Sautee for a couple of minutes before adding some salt and I used a dash of  seasoning herbs (I got a schezwan seasoning spice from Fab India on my recent visit) but any other asian seasoning will do just as well
You want to put just a dash literally!
Add the tomato juice and let it simmer for a minute
Break up the rice so it is nice and fluffy.
Add to the sauce and let it cook
The tomato juice will get quickly absorbed by the rice and will look moist but dry
Allow it to cook for a minute or so longer, stirring so it does not get burnt at the bottom

Serve hot with spring rolls on the side or enjoy as is...
Don't forget the key ingredient - Love - to make it and serve it
 The shrooms, onions and chillies vut and ready to go
 the tomato puree
  The crushed garlic sauteeing in the pan
                       The veggies saute
                    The final product

Wednesday, January 19, 2011

Bread Upma

This is always a quick and handy recipe which we resort to at least if not twice a month. My husband sometimes teases me that it looks like turkey stuffing - he used to not be a vegetarian, but that changed after marrying moi!
You want to eat light, and yet you want to pep up the simple bread so here's how you can do it...and in 15 minutes flat!


Ingredients

4 slices of multi-grain or whole wheat bread
2 table spoons of luscious buttermilk or yogurt
1 med-sized red onion
2 tablespoons of grated carrots
2 green chillies
A pinch of
turmeric
urad dal
asafoetida
cilantro, cashews and a tsp of molaga podi for garnish
1 teaspoon of olive oil

Preparation
Cut the bread
In a pan, heat the oil, add the condiments and allow the urad dal to brown
Add the chillies and onions
When the onions are brown, quickly dip the cut bread in the yogurt and directly toss into the pan
Cook with the rest of the ingredients until it turns crispy brown
Remove from flame and garnish with cilantro and or molaga podi and the cashews
Enjoy this savory treat
And Love it:))

Saturday, January 15, 2011

Baingan Ka Burta - North Indian Eggplant preparation

I was all set to make ChakaraPongal and kootu, but we heard news of my husband's aunt's passing - so all festivities came to a grinding halt - So I decided to keep it simple - do I overuse that word or what! The awesome thing I learned during my visit to India was to make good phulkas - Just by watching mind you! So I made some phulkas (which I will blog next) and a side dish of Baingan ka burta.

I find the toasting of the Italian eggplant over open fire messy and here in the US you have to clean the mess yourself - So my I changed my approach just a tad, but did not compromise on the taste - that is a strict NO NO!

Here is how I went about it
In Words
Ingredients

1 Italian Eggplant (big) peeled
1 big red onion cut in slivers
2 Tomatoes (big round ones)
3small green chillies slivered

Spices
1 tsp Turmeric
1/2 tsp of cumin seeds
A pinch of asafoetida
2 tablespoons of olive oil
3 tsp of sambar powder (more or less is optional)

Preparation

Peel and cut the eggplant into small cubes and cook in microwave for about 5 minutes on high heat
Cut the tomatoes in cubes and the onions into long slivers
Get the pan ready on the stove with a little bit of oil to splutter the cumin seeds.
Add the turmeric powder and 1 tsp of sambar powder and the green chillies
Add the tomatoes first and let them cook until its waters has evaporated
Add the onions and dribble some oil on it and allow this to cook and brown
Remove the cooked eggplant from the microwave and mash it with a masher
Add to the onions and tomaotes and add the last bit of oil and sambar powder and let them all cook for a few more minutes until it turns a happy golden brown
Garnish with crushed cilantro and serve with phulkas (chappatis)

In Pictures


 Saute the tomatoes
 Add the onions
 mash the cooked eggplant
 mix together and cook
On your plate with soft phulkas :))

Serve Hot and with abundance of Love!

Thursday, November 18, 2010

Oats Idlis

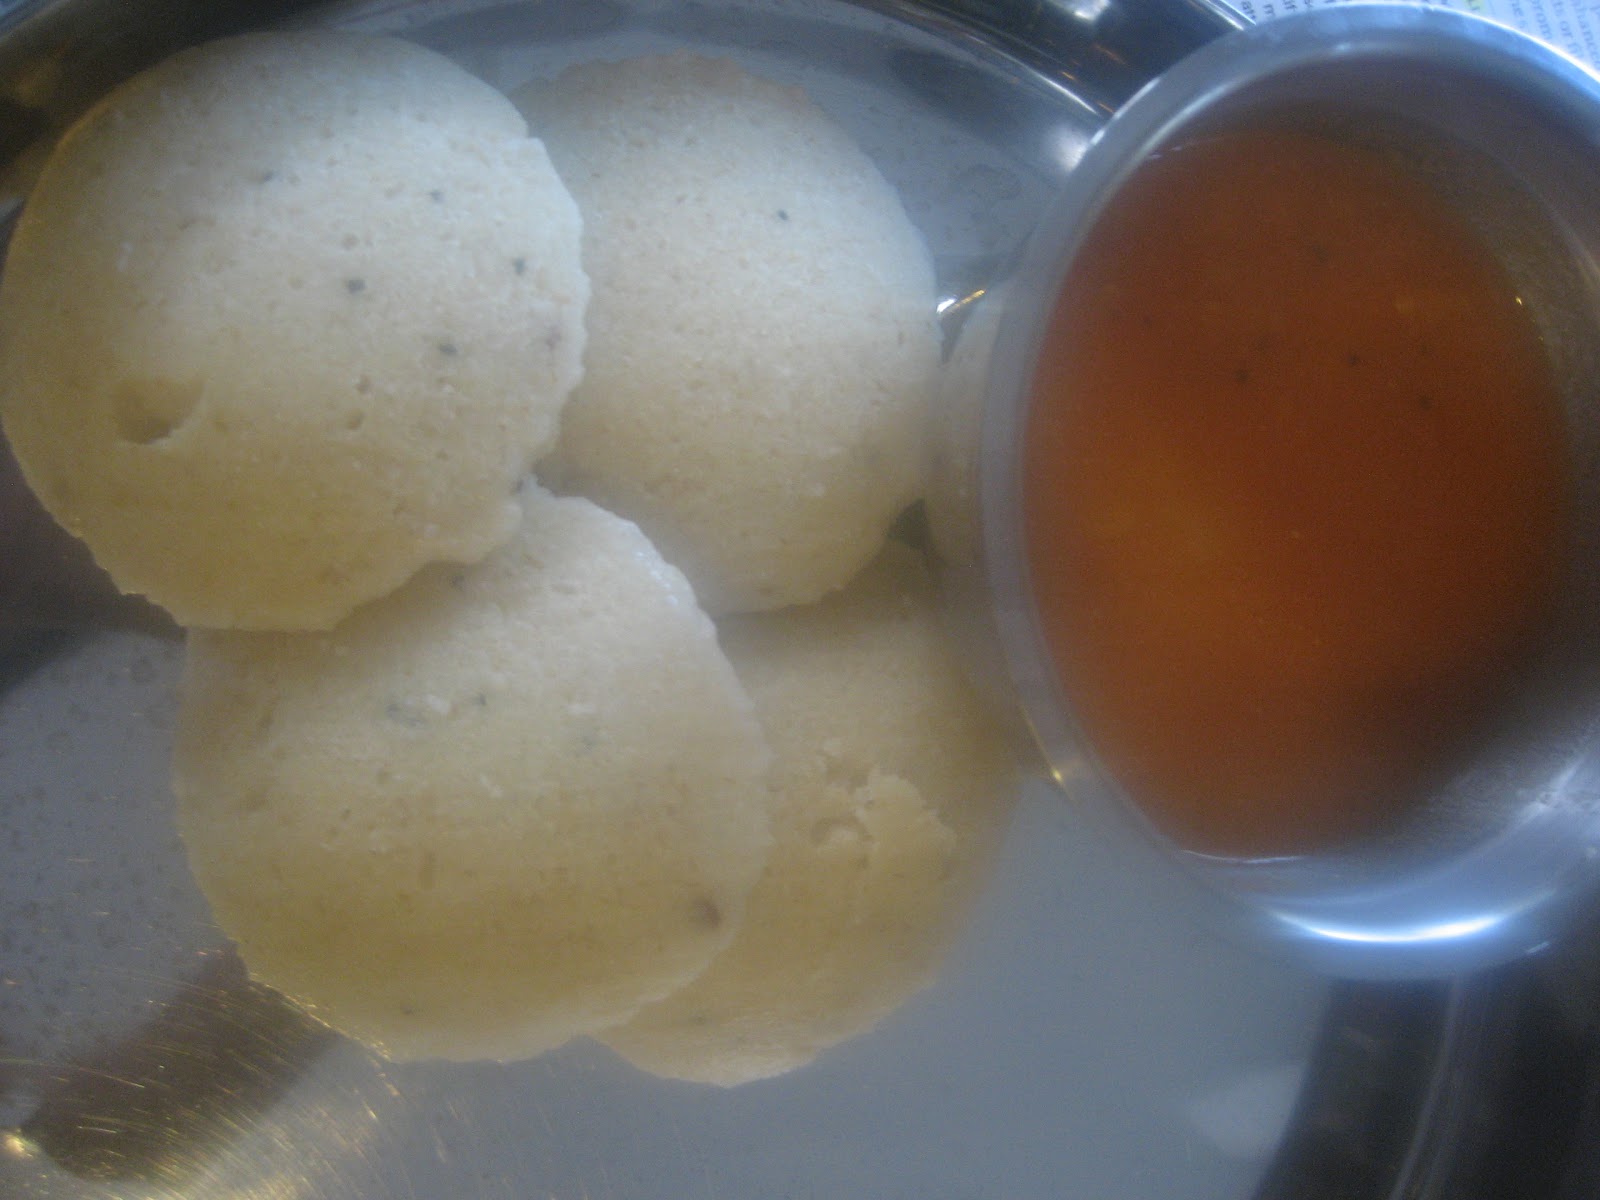
Experimenting in the kitchen, like many of you do, leads to some interesting outcomes - My oats idli was one such experiment and frankly, it turned out SO good! They are like Rava idlis, only tastier! Also Oats is a healthy grain and gives you a better alternative to rice...


Ingredients:

2 cups of instant oats
1/2 cup of Rava
2-1/2 -3 cups of yogurt
1 table spoon of Besan/ Kadalamavu/ gramflour
1 teaspoon of salt
1/2 teaspoon each of
cumin seeds
mustard seeds
urid dal
asafoetida
A few curry leaves

Preparation

Mix your oats, rava and besan together first, sift if necessary
Add the yogurt a cup at a time until you get a regular idli - sort of like pudding?
In a small pan, thadka or sautee the spices and throw into mixture
Add cashews if you like
Get your Idli pans greased and pour and steam for 10-11 minutes of medium high flame

Enjoy with sambar, chutney or molagai podi :-) Stay healthy

Tuesday, November 16, 2010

Beans Paruppusili

Of all the dishes to make, this can be one of the most long-drawn out, because it does not fit into my under 45 minute guarantee given its prep time - but with the modern gadgets and gizmos we all seem to have in our kitchens, this process does not seem as tedious. This is a once in 2-3 months deal in our home for this very reason. But if you see tender beans or snake gourd, you tend to weaken and say that's worth an Usili ... We fell for the beans - Plus with a simple (Pepper-cumin) molagu-jeeraga rasam or vetha kozhambu (recipe of latter is on the blog already - have to add picture) can be an outstanding combo...

Once I made paruppusili with broccoli - outtasight! Will post pics the next time I make that!

Ingredients

1 cup of Thuvar dal/ thoran paruppu/ bengal gram
2 green chillies
2 red chillies
1/2 cup of grated coconut
2 lbs of  fresh beans

Preparation

Soak the dal and chillies for couple of hours and grind coarsely -like for vadai in a food processor - drain out the water from the soaking before grinding.
Once ground, add the salt and mix in really well
Grease your idli plates and steam cook like idlis for about 12-13 minutes

FOR THE BEANS
Cut and steam cook beans
Thadka or Tmeper with
A pinch of asafoetida
2 Whole red chillies
1/2 teaspoon of mustard seeds small black)
Curry leaves
Set aside

Once it the usili idlis are fairly cool, get our your cheese grater and rub the idli against it so it crumbles into small florets.
Slightly dry roast the grated coconut in a small pan and top it on to the usili mixture and stir in.
Add to the beans and mix well

Beans cut and steamed
                                                                     Making the Idlis
Grating the Idlis

                                                                     Doesn't this look nice!
                                                                Making the beans curry
                                                                     The Usili with the coconut
Enjoy!


Sunday, October 10, 2010

Quinoa and Oats Idlis

Has it ever happened to you that you are churning out recipes in your head in your sleep or in the middle of the night, and you can't wait for dawn so that after a good cup of coffee you can get going on those creative juices that were engulfing your brain and made you lose sleep? It starting to happen a lot nowadays, thanks to y'alls encouragement :-)
You might think that oats is the flavor of the month and you'd be right - RICE is the big no-no for many people for weight reasons and also not a good one for diabetics - brown rice is an option but not too many people go for it. But we want our idlis - why not make some healthy life style changes and start making this wonderfully comforting food in a different way? So my journey in search of different idlis - I've made them with ragi, oats and rava and now quinoa and oats, you get your protein and fiber and you are guilt-free as you down these softies. When you've made them and eaten them, you deserve to give yourself a pat on your backs - Good call - AND, the biggest advantage is you can make these idlis in 20 minutes flat start to finish ---How do you like that?!
This is my first time. I went online to get some recipes and there were none that did not include rice or urad and you know those things need to be soaked, ground and allowed to ferment over night...But I wanted my Idlis now...So I decided to put things that I think are healthy together and got going with my imagination!
Presenting...
                                            Quinoa-Oats idlis
Ingredients
1 cup of instant oats
1 cup of quinoa flakes
2 to 2-1/2 cups of  yogurt
all our usual thadka items - your call
1/2 teaspoon of mustard seeds,
2 chillies, 
a pinch of asafoetida 
curry leaves
a pinch of urad dal
Salt a pinch
 And get this...
2 teaspoons of Rasa Podi 


Preparation
Get your cereals together mix them and in a small blender, grind half of it coarsely and add to the rest
take a fork and start stirring in the yogurt until all of the cereal is nicely soaked in the yogurt and looks like the picture below
Thadka/garnish in 1 teaspoon of oil all the other ingredients
Pour on top of the batter and mix in well

Get your idli steamer ready 
Grease your plates and  scoop 1 tablespoon of the batter into each cup
You can make approx 22-24 idlis with this amount

Cook for 10-11 minutes 
Remove and serve hot by itself or with chutney.

Secret tip If you want to make it more festive, add 1 tablespoon of grated coconut into the batter


                                            Oats Cereal and Qunioa in a bowl
                                            Dry grind
                                          add yogurt
                                            thadka
                                            add to mix
                                            pour the batter in
                                          And you have yourself some soft and tasty idlis                                  
Enjoy this healthy treat.
Last Word: Don't forget to add a good measure of LOVE to this recipe :-)